Search
English
简体中文
日本語
한국어
Deutsch
français
Latest
Animal
Architecture
Art
Beauty and Makeup
Birds
Cute Pet
Daily Life
Delicacies
Tags
Home
/
#Monument to Independence
#Monument to Independence
1 images · Page 1 of 1
USD 1.00
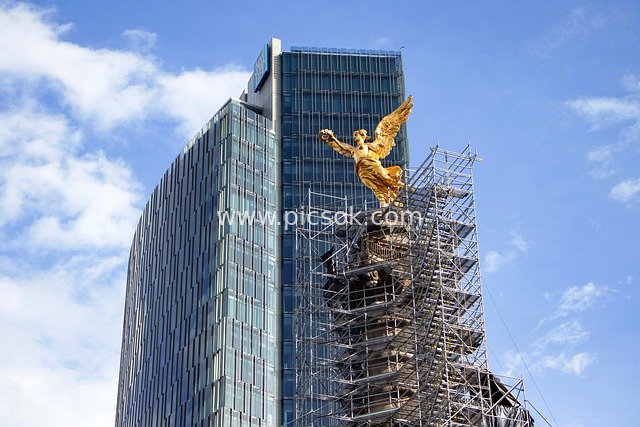
Restoration of the Angel of I…
Angel of Mexican Independence
Sculpture Restoration
Modern Architecture